Creating a Sensory Play Station at Home on a Tiny Budget

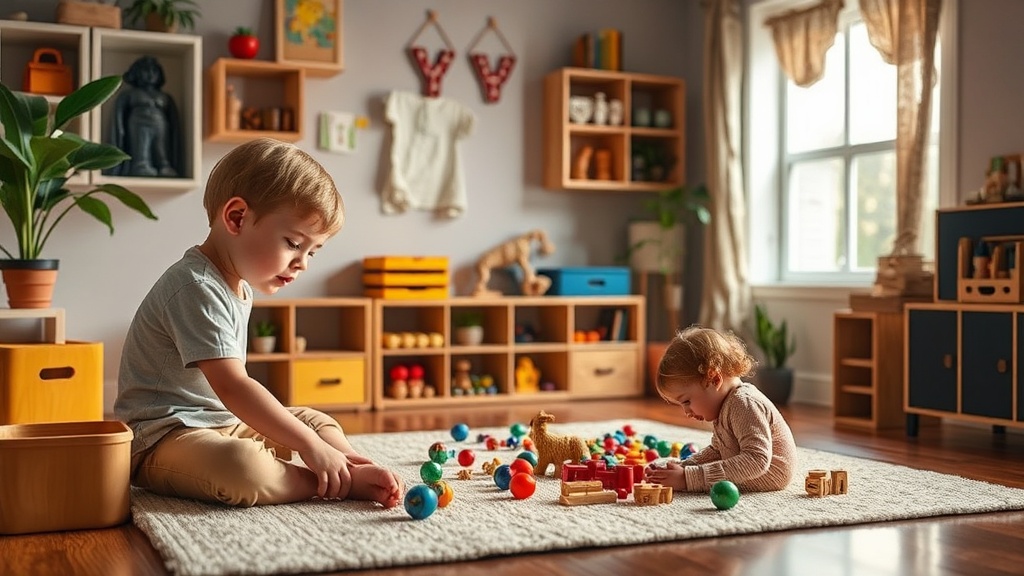
You'll learn how to build a functional, engaging sensory play station using household items and inexpensive materials that won't break the bank. This guide covers the types of sensory bins you can make, how to set up a dedicated space in a small home, and how to keep the mess under control. Sensory play is a fundamental part of a child's cognitive and motor development, but you don't need to spend a fortune on high-end Montessori toys to do it right.
What is Sensory Play and Why Does It Matter?
Sensory play is any activity that stimulates a child's senses—sight, smell, touch, taste, and hearing—to help them explore the world around them. It’s a way for kids to process information and build neural pathways through tactile experiences. When a child squishes playdough or pours dry rice, they aren't just making a mess; they're learning about texture, volume, and cause and effect.
From a developmental standpoint, these activities help with fine motor skills and even language development. As they describe what they feel—"cold," "sticky," or "grainy"—they're building their vocabulary. If you're already looking for ways to support your child's growth, you might also find my post on boosting language development daily helpful.
The beauty of sensory play is that it doesn't require specialized kits from expensive toy brands. You can find almost everything you need in your pantry or at a local dollar store. In fact, some of the best sensory experiences come from the simplest materials.
How Much Does a Sensory Station Cost to Build?
A basic sensory station can be built for under $10 if you use items you already have in your kitchen or pantry. Most of the "ingredients" for a great sensory bin are common household staples like flour, rice, or water. If you do need to buy something new, a bag of dried beans or a container of kinetic sand is a one-time low cost that provides hours of engagement.
Here is a breakdown of common low-cost materials and their typical uses:
| Material Category | Examples | Developmental Focus |
|---|---|---|
| Dry Goods | Rice, dried beans, oats, pasta | Fine motor skills, pouring, counting |
| Wet/Sticky | Water, shaving cream, soap, cornstarch (Oobleck) | Texture exploration, viscosity, sensory regulation |
| Natural Elements | Sand, water, pebbles, leaves | Nature connection, weight, temperature |
| Tools | Measuring spoons, spoons, scoops, funnels | Hand-eye coordination, mathematical concepts |
Don't feel pressured to buy the "official" Montessori sensory kits you see on Instagram. Those are often overpriced. A simple plastic Tupperware container or a shallow baking sheet works just as well as a high-end wooden tray.
What are the Best Low-Cost Sensory Bin Ideas?
The best sensory bin ideas involve using everyday pantry items to create different textures and sensations. You can rotate these themes to keep your child interested without having to buy new toys every week.
1. The Classic Dry Bin
Dry goods are the easiest way to start. A large bin filled with uncooked pasta or rice is a staple for a reason. It's cheap, easy to clean up, and provides endless opportunities for scooping and pouring. If you're worried about the mess, try using a large tray or a dedicated "sensory rug" underneath the bin.
2. The "Oobleck" Station
Oobleck is a non-Newtonian fluid made from just two ingredients: cornstarch and water. It’s a fascinating experience because it acts like a solid when you press it and a liquid when you let go. It's a science experiment disguised as play. You can find more about the science of sensory textures on the Wikipedia page for non-Newtonian fluids if you're a curious parent who loves the "why" behind the play.
3. The Shaving Cream Swirl
A dollop of shaving cream on a tray is a sensory delight. It's smooth, airy, and incredibly fun to draw in. If you want to avoid the scent of certain shaving creams, you can use whipped cream or even plain yogurt (though the latter is much stickier and might be better for a "messy play" session outdoors).
4. The Water Play Station
Water is the ultimate free resource. Add a few drops of food coloring or a bit of dish soap to change the color and texture. Adding ice cubes or even frozen toy animals can introduce temperature play, which is a huge part of sensory exploration.
How Can I Manage the Mess at Home?
Managing the mess is the biggest hurdle for most parents, but a few strategic moves can make it much more manageable. You don't have to be a person who lives in constant fear of a spilled rice bin.
- Set a Boundary: Use a specific container or a designated tray to keep the materials within a defined area. This prevents "drift" across the living room floor.
- Use a "Mess Mat": A cheap shower liner or a large towel placed under the station can catch spills. It also makes cleanup much faster—just fold it up and shake it out.
- The "One-at-a-Time" Rule: If you're using multiple textures (like water and dry rice), don't mix them in the same bin. Mixing them can create a heavy, muddy mess that is much harder to clean than either one alone.
- Clean as You Go: When the play session is over, have a designated bin for the "ingredients" to go back into. If the rice is still clean, put it in a sealed container. If it's wet, it's time to move to the compost or the trash.
If you're worried about the mess being too much for indoor play, consider moving the station to a high-chair or a small table. This keeps the child's body contained and the materials within reach. For more outdoor-friendly ideas, check out my post on budget-friendly backyard adventures.
It's also worth noting that sensory play can sometimes be a way for children to regulate their emotions. If your child is feeling overwhelmed, a calm, repetitive motion like scooping sand can be incredibly soothing. It's a tool for regulation, not just a way to pass the time.
One thing to keep in mind is safety. Always supervise play, especially when using small items like dried beans or pasta, to prevent choking hazards. Check the CDC website for general guidelines on child safety and developmental milestones if you're ever unsure about what's appropriate for your child's age.
The goal isn't to have a perfect, Instagram-ready playroom. The goal is to provide your child with the tools they need to explore, learn, and grow through their senses. Even a simple bowl of water and a spoon can be a profound learning experience for a curious toddler.